To place an order for a domain and hosting with HosterPK, you can follow these steps:
Step 1 – Choose Your New Hosting Plan
Choose the web hosting package that best suits you. You can see our shared hosting packages listed here:
You should be able to see all our packages listed, including their prices and the individual resources each has (like bandwidth, disk space, etc.). If you need help understanding these, please read this article.
Top 5 Most Common Web Hosting Terms and Their Meaning Explained
Once you have chosen the right package that fits your needs, click on the ‘Order Now’ button against the package.

Step 2: Choose Your Domain Name
Choose a domain: The first step in the ordering process is to choose a domain name. You can search for available domain names and select the one you want to use.


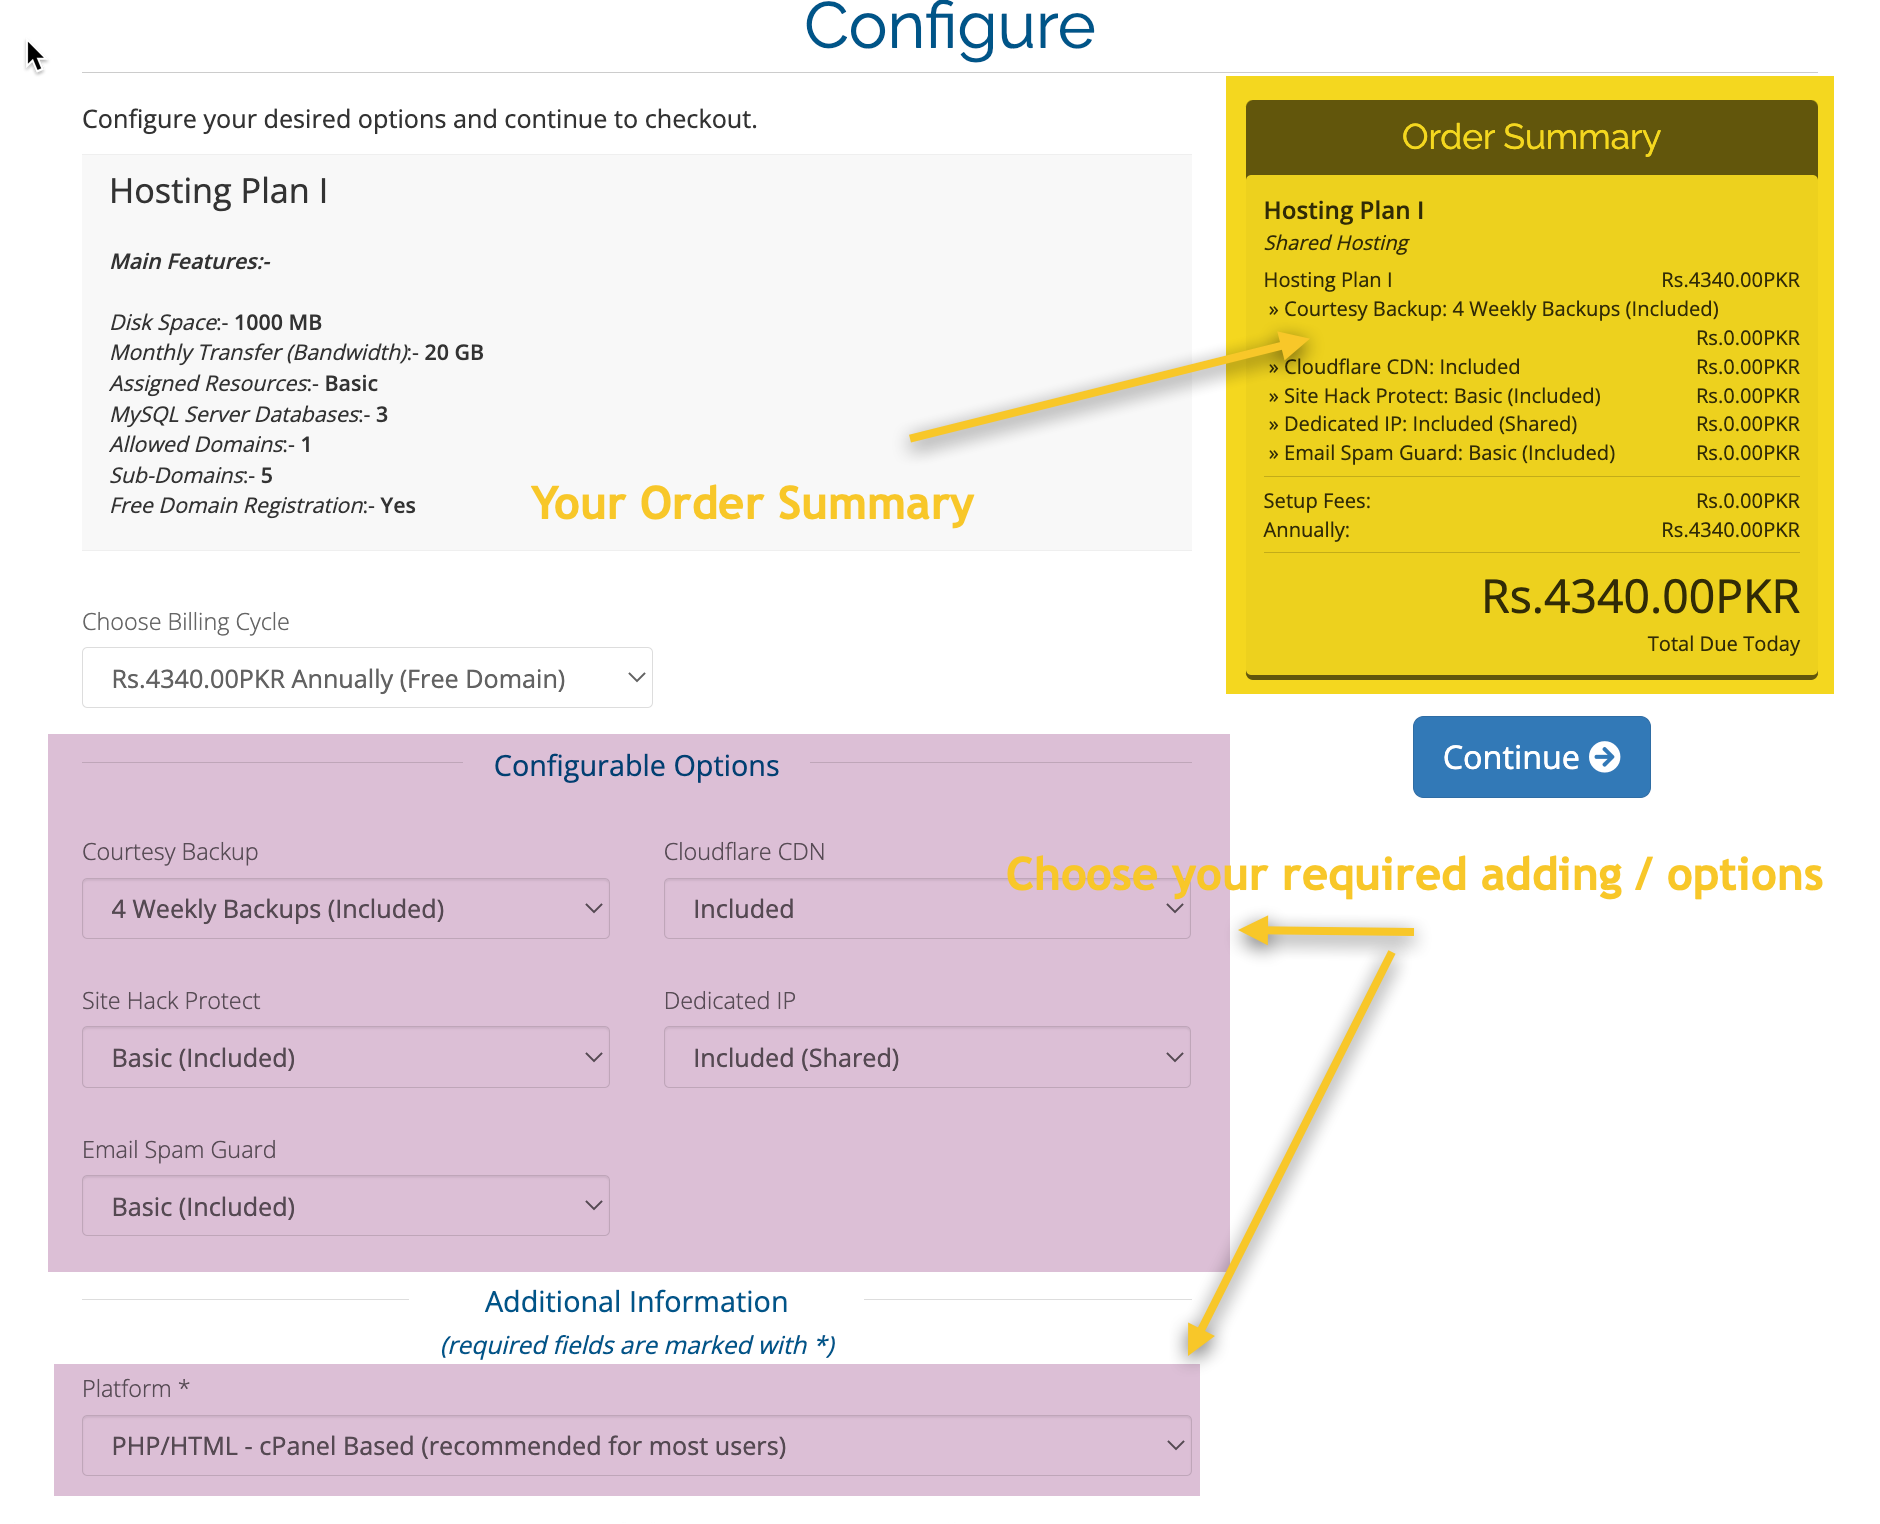
Step 3: Configure Your New Hosting Options
Set product configurations: Once the customer has chosen a domain name, they will need to select a hosting plan and configure any additional options, such as the number of email accounts, storage space, and bandwidth.

Step 4: Review Your Shopping Card – Apply Promo
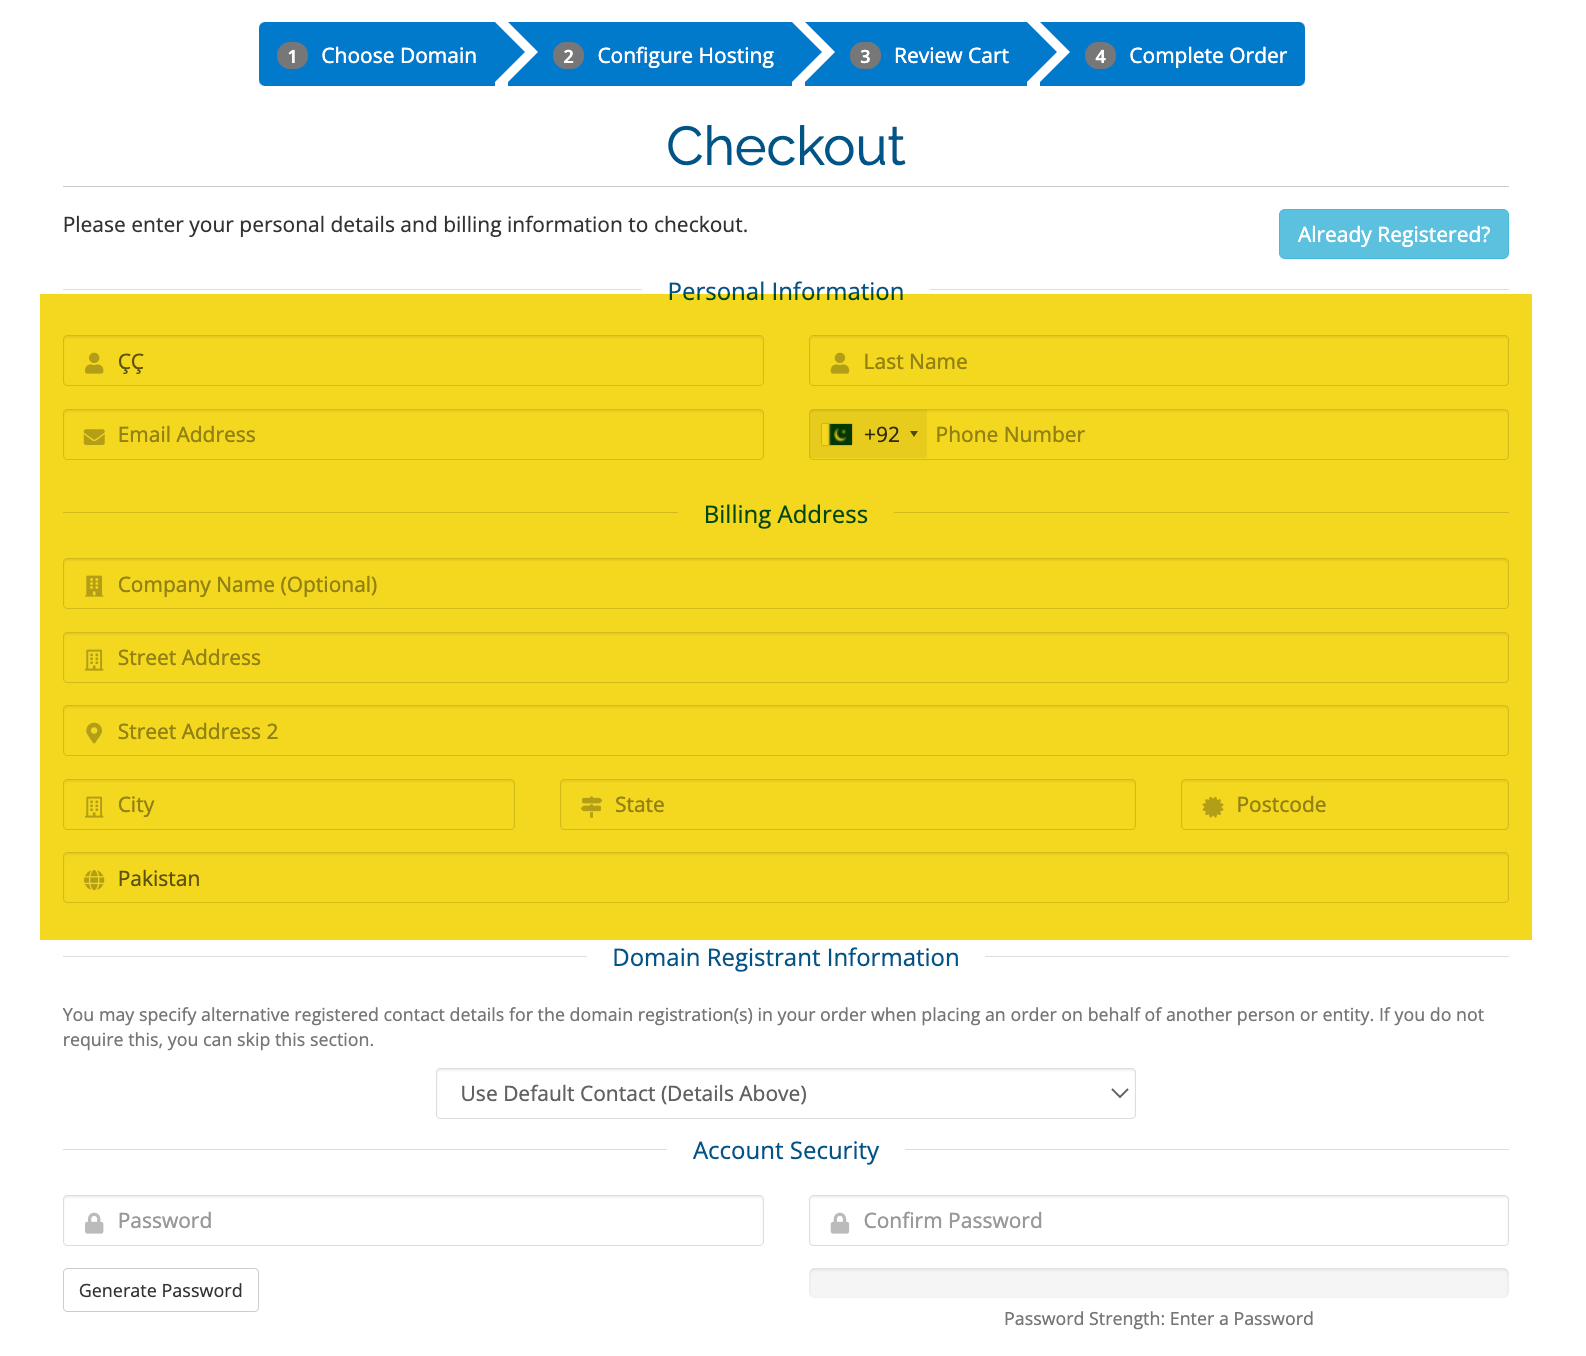
Review and confirm: Before placing the order, you will be presented with a summary of their order, including the total cost, billing cycle, and any additional services they have selected. They will also be required to provide their billing and contact information.

Step 5: Enter Your Info and Place Your Order
Order completion: Once the payment is processed, the order will be completed, and the customer will receive an email confirmation with all the order details. They will also be able to access their account and manage their hosting services through the WHMCS client area.


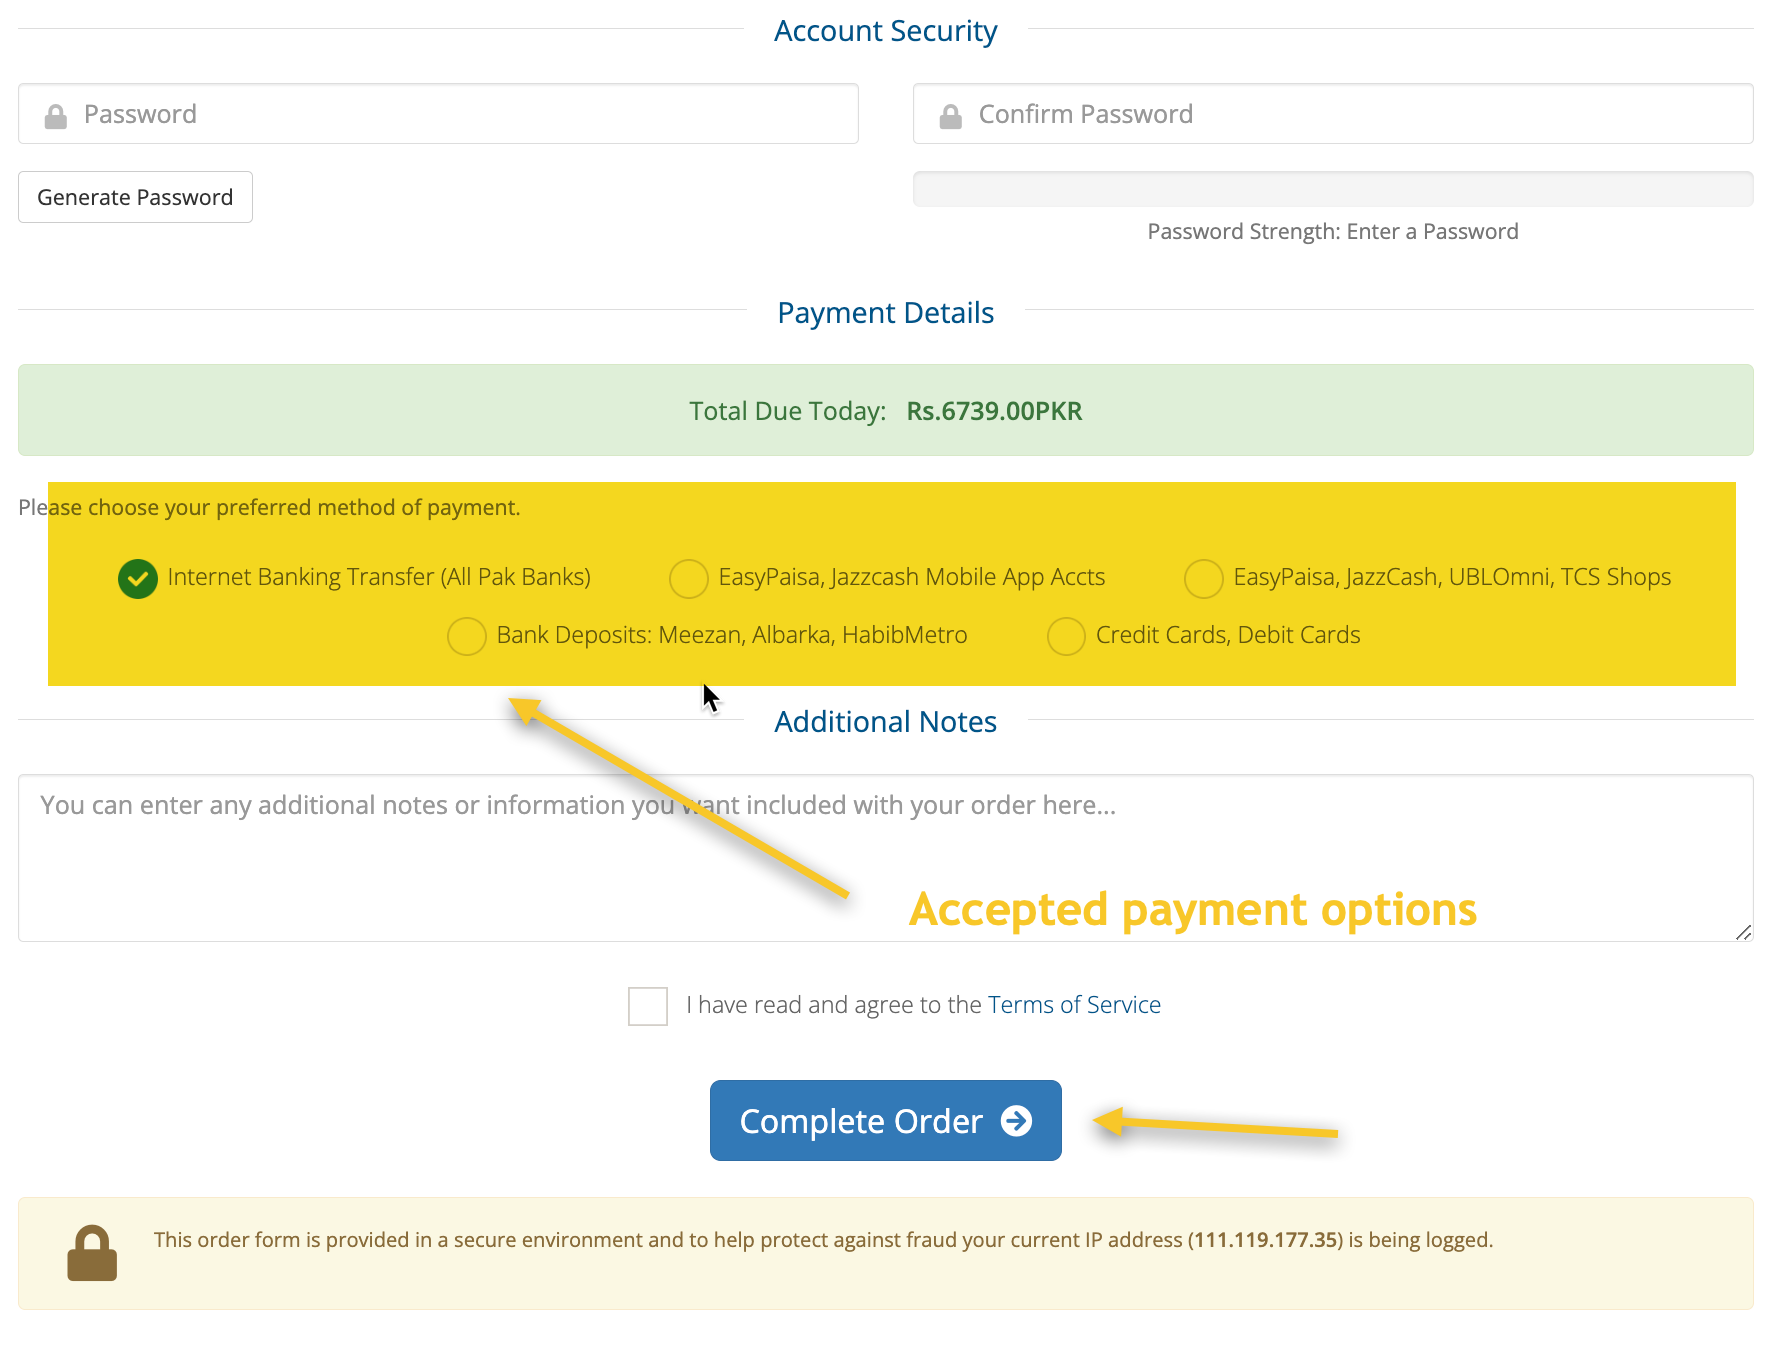
Step 6: Make the Payment Against the Invoice Generated
Payment: The final step is to make payment for the order. Customers can pay using various methods, such as EasyPaisa, JazaCash, Online Banking, Bank Deposits and Credit Cards.
